Easy Northern Diamond Square: Free Crochet Pattern
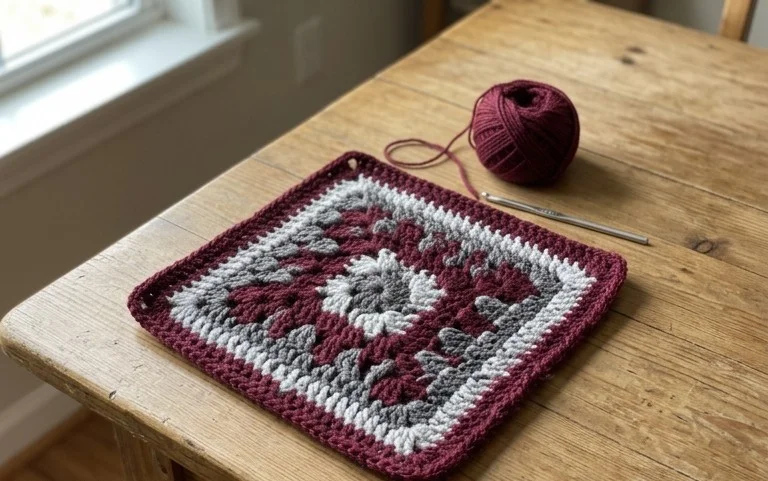
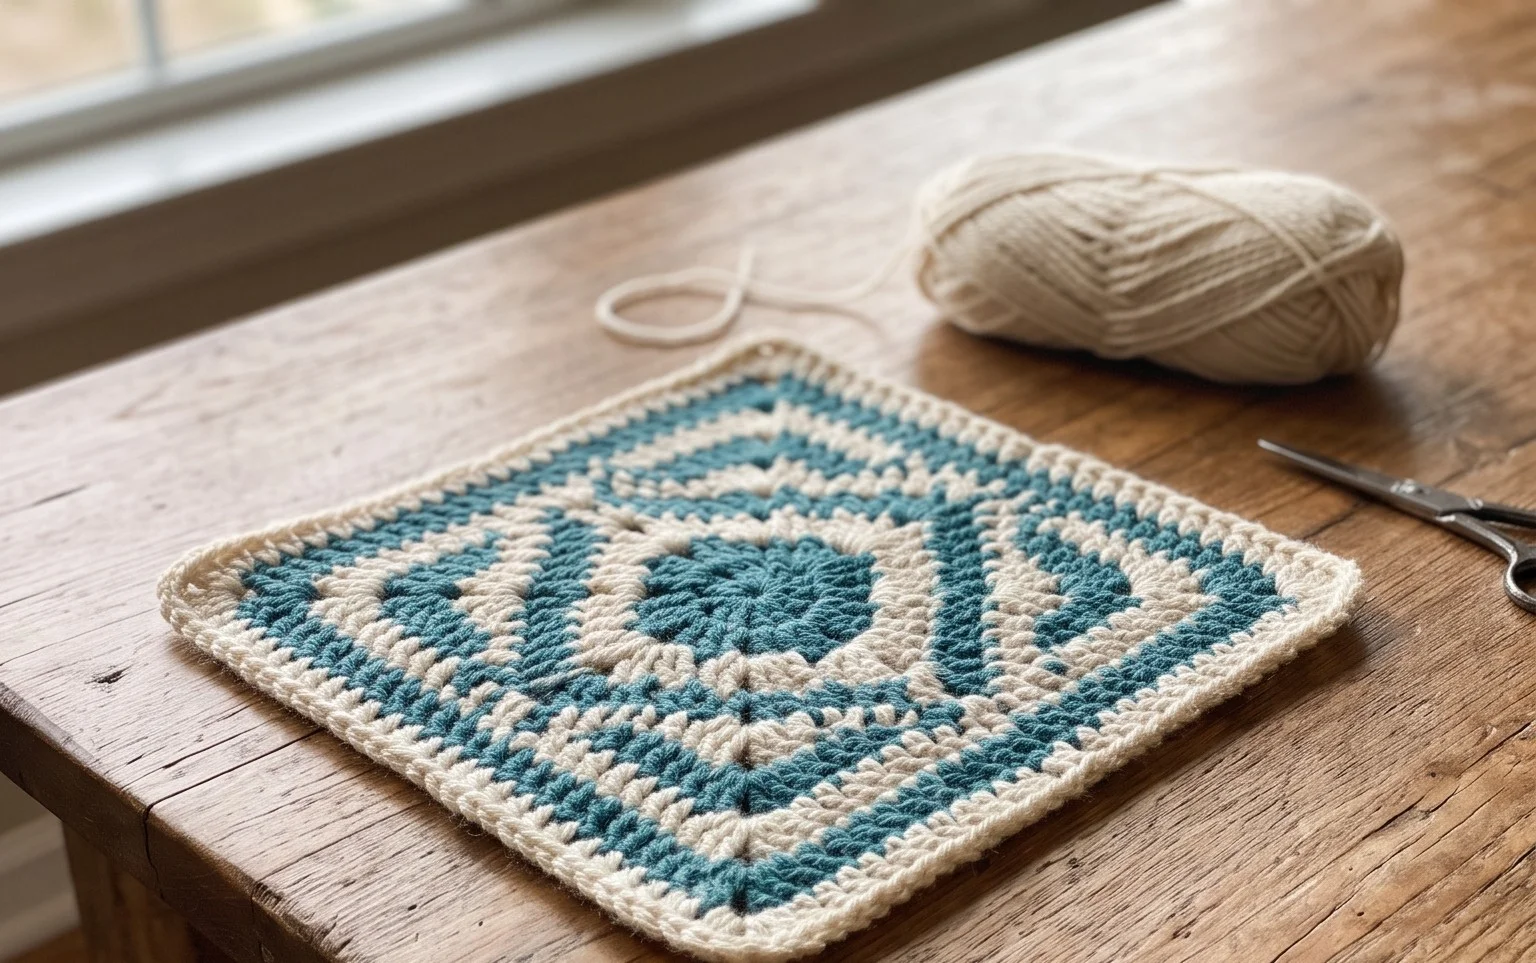
A stack of these geometric coasters adds a clean, structured look to any side table while providing a sturdy resting spot for your morning coffee. The pattern features a sharp, raised center diamond motif that feels satisfyingly firm under the palm. You will rely on basic double crochet clusters to build the texture, making this a reliable project to pick up during a busy afternoon. Whether you are a beginner practicing your tension or a long-time maker needing a quick win, this design finishes in under twenty minutes. You will learn how to maintain flat edges through careful joining techniques.
Why You’ll Love This Pattern
This beginner-friendly crochet coaster pattern uses a simple, repetitive stitch pattern that works up in under twenty minutes. It is an ideal project for using up small amounts of leftover cotton yarn from larger projects. The resulting coaster is thick enough to protect wooden surfaces from heat or condensation. Because the design uses basic stitches, it provides a relaxing, meditative rhythm for experienced crocheters while remaining approachable for those still building their confidence with the hook. The finished piece creates a professional-looking home accessory that makes a thoughtful, handmade gift for housewarmings or holiday exchanges.
I managed to finish a full set of four coasters in one afternoon. The instructions were easy to follow and the finished shape sits perfectly flat on my coffee table without any curling.
— Sarah, hobbyist crafter
Pattern Overview & Skill Level
- Skill Level: Beginner
- Approximate Time: 15–20 minutes per coaster
- Construction: Worked in joined rounds, starting from the center and expanding outward
- Finished Dimensions: 4 inches (10 cm) in diameter
Materials & Supplies Needed
- Yarn: Worsted weight (#4), 100% cotton, approximately 15 yards per coaster. Cotton is necessary for heat resistance and absorbency.
- Hook Size: 5.0 mm (H-8) crochet hook.
- Notions: Tapestry needle for weaving in ends, sharp scissors.
- Yarn Substitutions: You may use acrylic yarn if the coasters are for decorative use only, but do not use acrylic for hot beverages, as the fibers may melt. Wool will felt over time if washed, so cotton is the best choice for functional homeware.
Stitch Guide & Abbreviations (US Terms)
- ch = chain
- st/sts = stitch/stitches
- sl st = slip stitch
- sc = single crochet
- dc = double crochet
- inc = increase (work 2 dc in the same stitch)
- MR = magic ring (a method of starting a project by crocheting over an adjustable loop)
Step-by-Step Pattern Instructions
Coaster Body
- Rnd 1: Start with a MR. Ch 3 (counts as first dc here and throughout), work 11 dc into the ring. Join with a sl st to the top of the beginning ch-3. (12 sts)
- Rnd 2: Ch 3, dc in the same st as the join. Work 2 dc in each st around. Join with a sl st to the top of the beginning ch-3. (24 sts)
- Rnd 3: Ch 3, 2 dc in the next st. *Dc in the next st, 2 dc in the next st; repeat from * around. Join with a sl st to the top of the beginning ch-3. (36 sts)
- Rnd 4: Ch 1, sc in each st around. Join with a sl st to the first sc. Fasten off. (36 sts)
Finishing
Cut the yarn, leaving a 4-inch tail. Pull the tail through the final loop to secure. Use a tapestry needle to weave the yarn end into the back of the stitches, trimming any excess length. Repeat the process for the starting tail at the magic ring to ensure the center remains tight.
Care & Washing Instructions
- Machine wash on a gentle cycle in cold water with similar colors.
- Lay the coasters flat on a towel to air dry, reshaping them while damp to ensure a perfect circle.
- Do not bleach or iron, as high heat can damage the cotton fibers and cause the coaster to lose its shape.
Pro Tips & Common Mistakes to Avoid
Maintain consistent tension throughout the rounds to prevent the coaster from cupping or ruffling. If your coaster begins to ripple, your tension may be too loose; if it curls inward like a bowl, your tension is too tight. Always place a stitch marker in the first stitch of every round if you are struggling to identify where the round ends. Weaving in your ends by splitting the plys of the yarn with your needle creates a more secure, invisible finish than simply pulling the yarn through the back of the stitches. Adjusting the size is possible by adding more increase rounds, but remember that each additional round will increase the yarn requirement significantly and may cause the coaster to lose its flat shape if the stitch counts are not perfectly balanced.
Frequently Asked Questions
Can I use a different yarn weight for this pattern?
Yes, but changing the yarn weight will change the size of the finished coaster. Using a lighter weight yarn like DK will result in a smaller coaster, while using a chunky weight will produce a larger one. You may need to adjust your hook size to match the recommended size on the yarn label.
Why does my coaster have a wavy edge?
A wavy edge usually indicates that there are too many stitches in the final round, or that your tension is quite loose. If this happens, try going down one hook size to tighten the stitches and create a more structured result.
Is this pattern suitable for complete beginners?
This is a great first project. It covers the magic ring, basic increases, and switching between double and single crochet stitches. It requires very little yarn, so you can practice the stitches multiple times without needing to purchase expensive materials.
Can I sell the finished coasters I make from this pattern?
You are welcome to sell finished items created from this pattern. Please credit the design to me when listing your items online or in person. Do not redistribute or sell the pattern document itself.
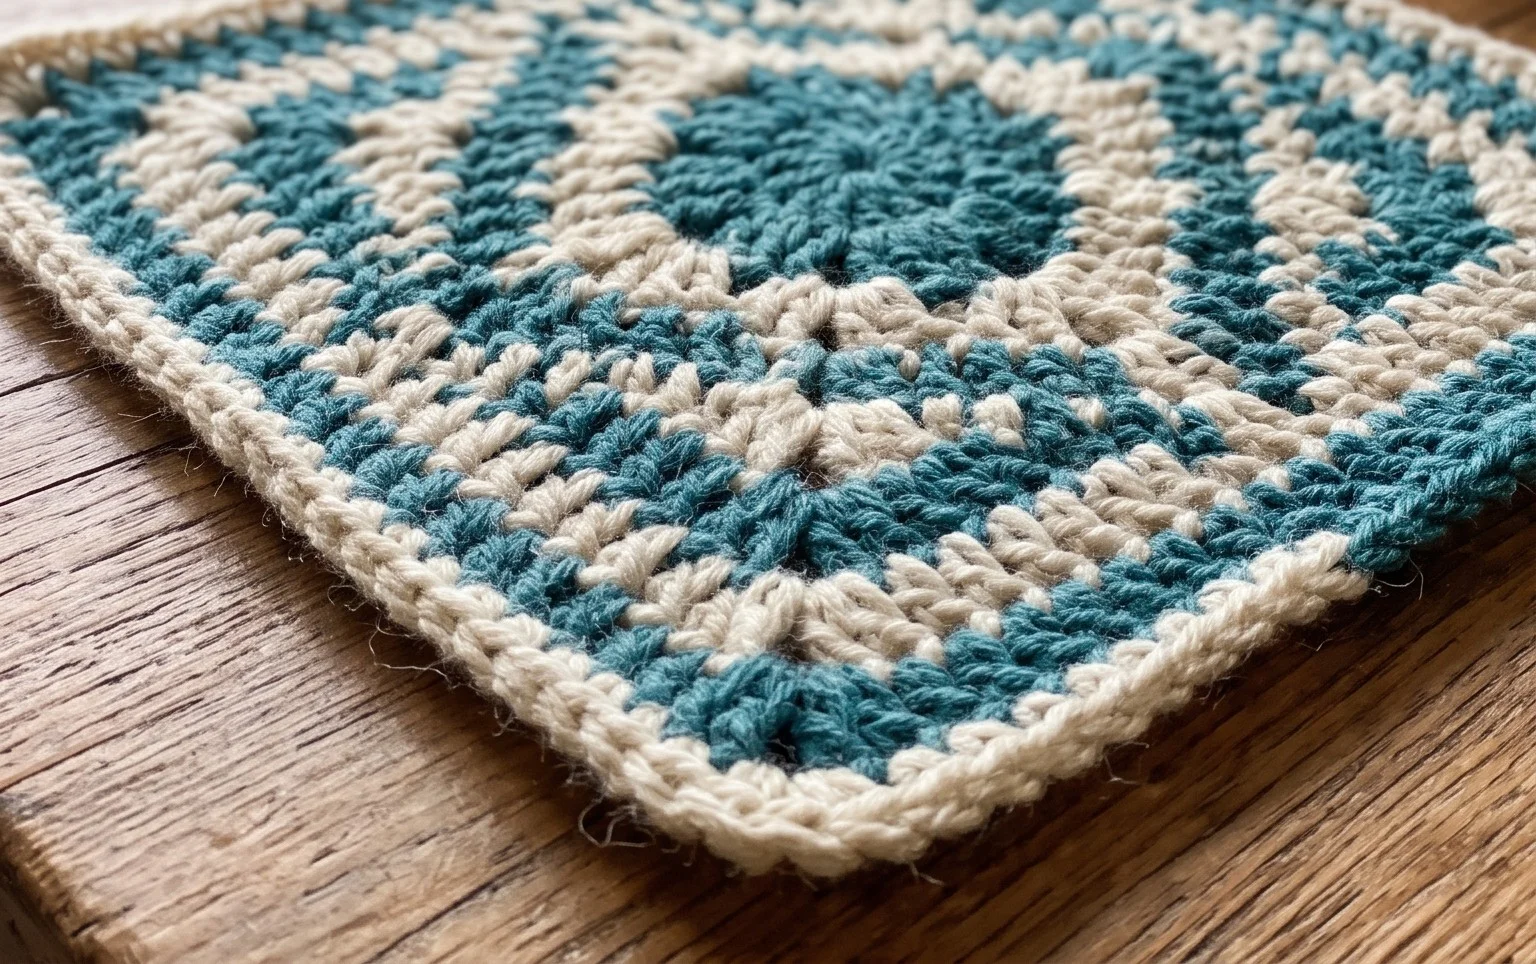
Seeing your stack of finished squares resting on the table is the best reward for your hard work during the last hour. You can easily adapt this look by alternating two high-contrast yarn colors every two rounds to highlight the diamond shape. Share a photo of your completed set on social media so others can see your color choices in action. If you find yourself enjoying this rhythm, there are many more straightforward home accessory guides available here on the blog to fill your weekend afternoons with creative activity.