Easy Crochet Basket Pattern: Beginner Step-by-Step Guide
This heavy cotton basket feels substantial in your hands, offering a stiff, upright shape that holds its form even when filled with heavy yarn cakes or small tools. Beginners appreciate how quickly the simple continuous rounds grow, turning a single afternoon into a functional home accessory. By focusing on tight tension and the right weight of cord, you produce a professional-looking container that does not sag or lean on your desk. Understanding these specific materials helps you achieve that specific density, and you will learn how the combination of hook size and yarn choice creates this structure.
Why You’ll Love This Pattern
This classic crochet basket provides a sturdy, structured container perfect for organizing yarn scraps, small notions, or desk supplies. Because it uses a heavy-weight yarn and a smaller hook, the fabric remains dense and maintains its shape without needing plastic inserts or starch. You can complete this project in a single afternoon, making it an ideal choice for last-minute handmade gifts. The simple spiral construction avoids awkward seams, ensuring a clean, polished look from every angle.
I finally found a basket pattern that stands up on its own without collapsing. The instructions were very easy to follow and it used up exactly one skein of my leftover bulky yarn.
— Sarah, home organizer
Pattern Overview & Skill Level
- Skill Level: Beginner
- Approximate Time: 2 to 3 hours
- Construction: Worked in continuous rounds from the base upward, using single crochet stitches to create a firm, bowl-like structure.
- Finished Dimensions: 6 inches in diameter and 5 inches in height.
Materials & Supplies Needed
- Yarn: Super Bulky #6, 100% cotton or a cotton-blend cord, approximately 120 yards.
- Hook Size: 8.0 mm (L-11).
- Notions: Stitch markers, tapestry needle for weaving ends, measuring tape.
- Safe yarn substitutions: You can substitute with two strands of worsted weight #4 acrylic held together. This will result in a slightly softer basket, so you may want to use a 6.0 mm hook to maintain density.
Stitch Guide & Abbreviations (US Terms)
- MR = Magic Ring
- ch = chain
- sc = single crochet
- inc = increase (work 2 sc in the same stitch)
- sl st = slip stitch
- BLO = back loop only (insert hook under the back loop of the stitch only)
- st/sts = stitch/stitches
Step-by-Step Pattern Instructions
Basket Base
- Rnd 1: Work 6 sc into a MR (6 sts).
- Rnd 2: Work 2 sc in each st around (12 sts).
- Rnd 3: 1 sc, inc repeat around (18 sts).
- Rnd 4: 2 sc, inc repeat around (24 sts).
- Rnd 5: 3 sc, inc repeat around (30 sts).
- Rnd 6: 4 sc, inc repeat around (36 sts).
Basket Sides
- Rnd 7: Work 1 sc in each st around, working in BLO to create a crisp edge for the base (36 sts).
- Rnds 8–15: Work 1 sc in each st around (36 sts).
- Rnd 16: Work 1 sl st in each st around to create a finished top edge. Fasten off and weave in your ends securely.
Care & Washing Instructions
- Hand wash in cold water using a mild detergent to prevent the fibers from stretching or pilling.
- Lay the basket flat on a clean towel to air dry, ensuring you reshape it into a perfect circle while damp.
- Avoid machine drying, as the high heat may cause the fibers to shrink unevenly or weaken the structure of the base.
Pro Tips & Common Mistakes to Avoid
Maintain consistent tension by holding the working yarn taut; if your stitches are too loose, the basket will sag instead of standing upright. Always use a stitch marker at the beginning of every round to keep track of your increases and ensure you are working the correct number of rows. Weave your yarn ends by traveling through the stitches on the inside of the basket base, which hides them completely from view. If you want a larger basket, simply continue increasing the base in the same x sc, inc pattern until the desired width is reached, then stop increasing and work even for the sides.
Frequently Asked Questions
Can I use wool yarn instead of cotton for this basket?
Yes, wool works well, but it is prone to felting if washed. If you use a superwash wool, the basket will be more durable and easier to clean.
Why does my basket lean to one side?
This often happens because of the natural spiral created by continuous rounds. To minimize this, ensure your tension remains uniform and pull your first stitch of each round slightly tighter.
Is this pattern suitable for someone who just learned how to crochet?
Yes, this project only requires the ability to create a magic ring and basic single crochet stitches, making it a great exercise for building muscle memory.
May I sell the baskets I make using this pattern?
You may sell finished items made from this pattern, provided you credit the designer and use your own photographs for the listings.
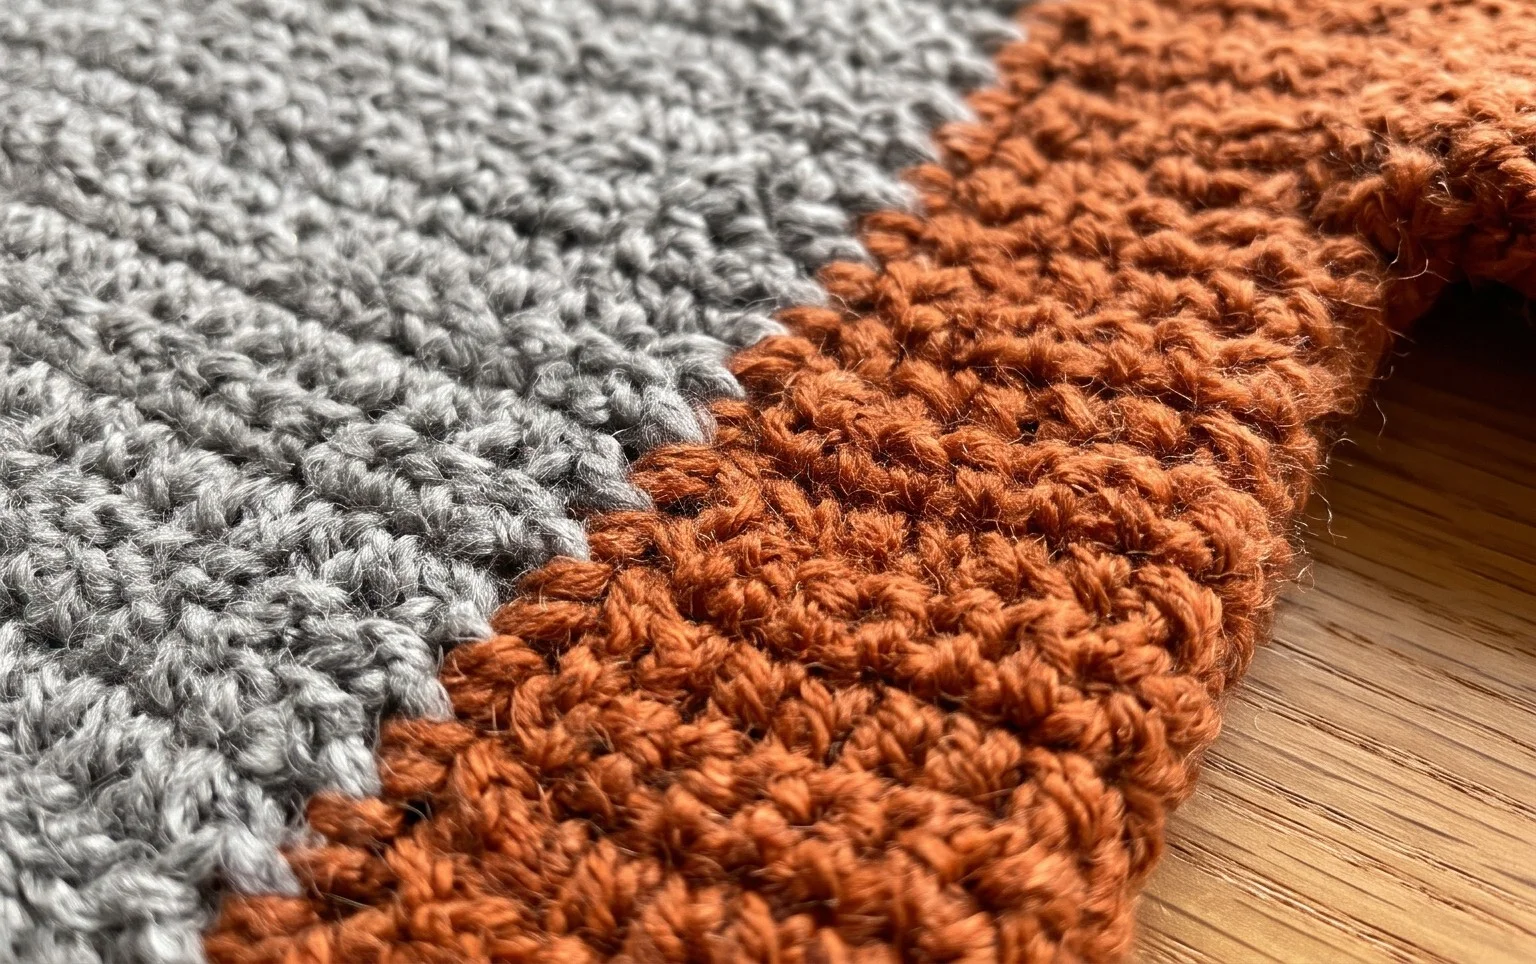
Your new handmade basket now stands ready to organize your craft room or hold small treasures on a shelf. You can adjust the proportions by adding a few more rounds of single crochet to increase the height or by swapping in a variegated cotton cord for a different visual effect. Tag your photos on Instagram so I can see how you styled your finished piece. Browse through the rest of the blog for more free patterns to build your collection of handmade home essentials this weekend.