Easy Crochet Beanie: Free Beginner Pattern in 3 Hours
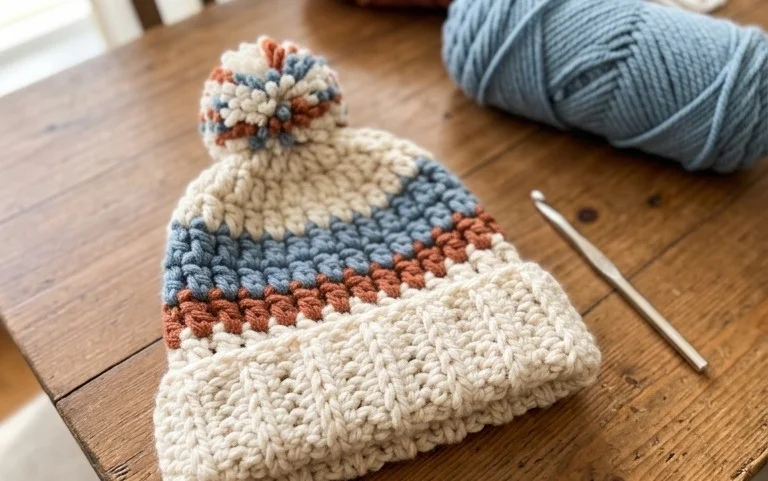
Soft wool against your forehead creates a warmth that makes this ribbed hat feel like a reliable friend during those first freezing weeks of November. Beginners appreciate this project because it avoids the fiddly math of crown decreases, relying instead on simple half double crochet stitches worked into the back loops for a ribbed look. Making this piece is a meditative process that helps clear your mind while building a functional accessory for yourself or a last-minute birthday gift. You will learn how to transition from a flat rectangular fabric into a cozy finished hat with just a few basic techniques.
Why You’ll Love This Pattern
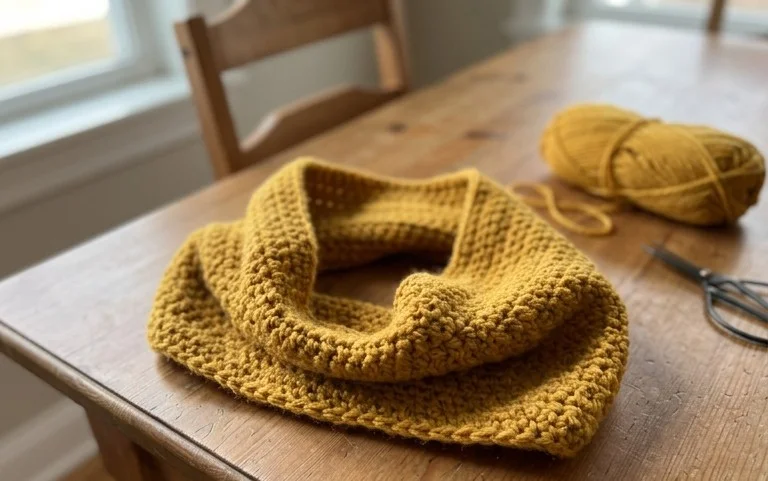
This crochet ribbed beanie offers a classic, fitted silhouette that relies on simple half double crochet stitches worked in the back loops to create a stretchy, knit-like texture. Because it is worked as a flat rectangle and then seamed, you avoid the complexity of shaping crowns with decreases, making it an ideal project for those just moving beyond basic scarves. The vertical ribbing provides excellent elasticity, allowing the hat to fit a wide range of head sizes comfortably without losing its shape over time. You can complete this project in a single evening, which makes it a practical choice for last-minute gifts or stocking up your handmade winter inventory.
I finished this hat in under three hours and the texture looks so much like knitting that my friends could not believe I used a crochet hook. The fit is perfect for my head and stays put without sliding back.
— Sarah, hobbyist crocheter
Pattern Overview & Skill Level
- Skill Level: Beginner
- Approximate Time: 2–3 hours
- Construction: Worked flat in rows to create a rectangle, then seamed along the side and cinched at the top.
- Finished Dimensions & Sizing: Fits an average adult head (20–22 inch circumference). Total rectangle measures 18 inches wide by 9 inches tall before seaming.
Materials & Supplies Needed
- Yarn: Worsted weight (#4), wool or acrylic blend, approximately 200 yards.
- Hook Size: 5.5 mm (US I-9).
- Notions: Tapestry needle for seaming and weaving ends, locking stitch markers, and scissors.
- Safe yarn substitutions: You can use a cotton blend for a breathable summer version, though it will have less natural stretch. Using a bulky weight yarn will require you to reduce your starting chain length to maintain the same dimensions.
Stitch Guide & Abbreviations (US Terms)
- ch: chain
- hdc: half double crochet
- BLO: back loop only. Insert the hook only under the back strand of the V-shaped stitch top.
- sl st: slip stitch
- st/sts: stitch/stitches
- Foundation Half Double Crochet (Optional): A method to create your base chain and first row of stitches simultaneously to ensure the edge is as stretchy as the rest of the fabric.
Step-by-Step Pattern Instructions
Hat Body
You will work the body of the hat as a flat panel. The height of your starting chain determines the length of the hat, and the number of rows determines the circumference.
- Row 1: Ch 35. Hdc in 3rd ch from hook and in each ch across. Turn. (33 sts)
- Row 2: Ch 2 (does not count as st), hdc in BLO of each st across. Turn. (33 sts)
- Row 3–50: Repeat Row 2 until the piece measures approximately 18 inches wide when slightly stretched.
Assembly and Finishing
Once you reach the desired width, fasten off, leaving a 20-inch tail of yarn for seaming.
- Fold the rectangle in half so the short edges meet.
- Using the tapestry needle, whip stitch the two short edges together to form a tube.
- Tie a secure knot at the base of the seam.
- With the same yarn tail, weave the thread in and out along the top edge of the tube.
- Pull the yarn tight to cinch the top of the hat shut.
- Secure the center with several tight stitches to ensure no hole remains.
- Weave in all ends on the inside of the hat.
Care & Washing Instructions
- Hand wash in cool water using a gentle wool-safe detergent.
- Lay the hat flat on a clean towel to air dry, reshaping it while damp.
- Do not hang the hat to dry, as the weight of the water can cause the ribbing to stretch out permanently.
Pro Tips & Common Mistakes to Avoid
Maintaining consistent tension is the most important factor in this pattern. If your tension is too tight, the fabric will be stiff and lose the characteristic stretchiness of ribbing; try going up one hook size if the fabric feels board-like. Always use a stitch marker on the first stitch of every row to ensure you do not accidentally skip the last stitch, which is a common error that leads to slanted edges. When seaming, keep your stitches loose so that the seam remains as stretchy as the rest of the hat. To adjust the size, simply add or subtract rows of 33 stitches; each row adds about 0.4 inches to the circumference.
Frequently Asked Questions
Can I use a different hook size for this pattern?
Yes, but changing the hook size will change the gauge and the final size of the hat. A smaller hook will result in a denser, smaller hat, while a larger hook will create a looser, airier fabric.
Is this pattern suitable for complete beginners?
This is an excellent first project because it relies on the half double crochet stitch and requires no increases or decreases, which are often the most confusing parts of garment construction for new makers.
Can I sell the hats I make from this pattern?
Yes, you may sell finished items made from this pattern as long as you credit the original design and use your own photographs for your listings.
What if the hat is too small for me?
You can easily increase the width by working more rows. Since the pattern is worked in rows rather than rounds, you can keep adding rows until the hat reaches a comfortable fit for your head circumference.
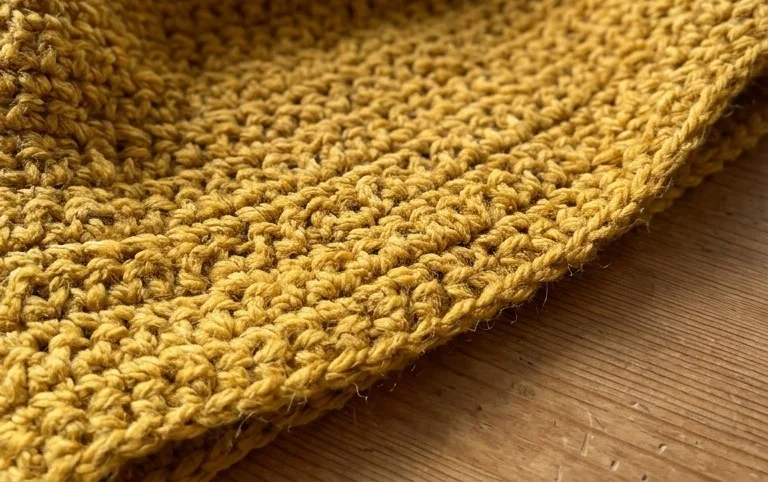
Your finished hat should feel sturdy yet flexible, hugging your head without any tight pressure points along the forehead. You might try switching to a variegated yarn for your next version to see how the color shifts interact with the vertical ribbing pattern. Please post a photo of your work on your favorite social media platform so others can see your color choices. Browse through the rest of the blog for more quick projects to fill your afternoons with productive, yarn-filled relaxation and creative joy.